
I’ve taken to the gram for direction on how and where to focus my time on decor. (Gram = Instagram, just clarifying for anyone over the age of 24, lol) All the followers voted (well, actually just 22 votes, we’ll get there…) and the majority voted that the laundry room was the next space to get an overhaul!
I got my thinking cap on and I’m not gonna lie, I spent WAY too much time just sitting in my laundry room floor trying to envision the space. Ask Hubs, he kept coming in to find me lost in thought, just staring… I think he questioned if I should go to the loony bin a few times.
One of the biggest hurdles of this space was the fact that I didn’t want to do any reno. We are renting this house, and while my landlords are ok with touch ups, they, nor myself, want to take on the task of actual renovations.
So I needed my decor to make the space look unified and intentional.
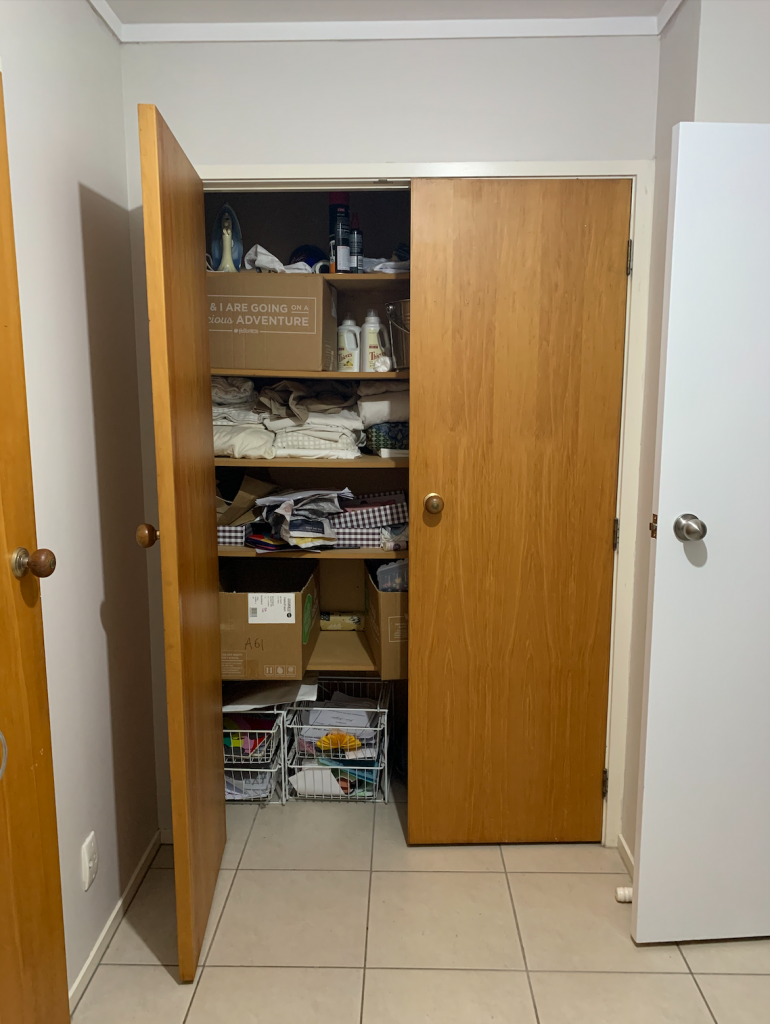
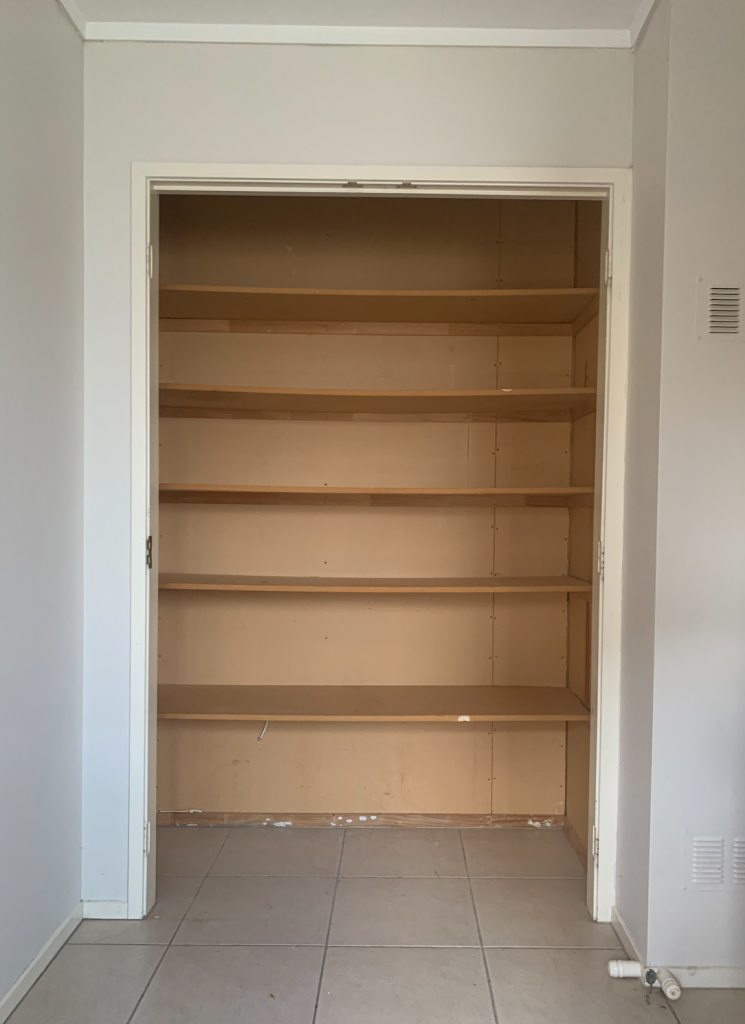
The closet was the first task, I felt like that one was the easiest… I pulled out EVERYTHING and was planning on painting the interior with the colour our landlords had left behind. Well… I took everything out and realised that the closet had never been taped and bedded. Which meant that if I painted straight onto the walls, you would be able to see every imperfection.
Thinking cap went back on.
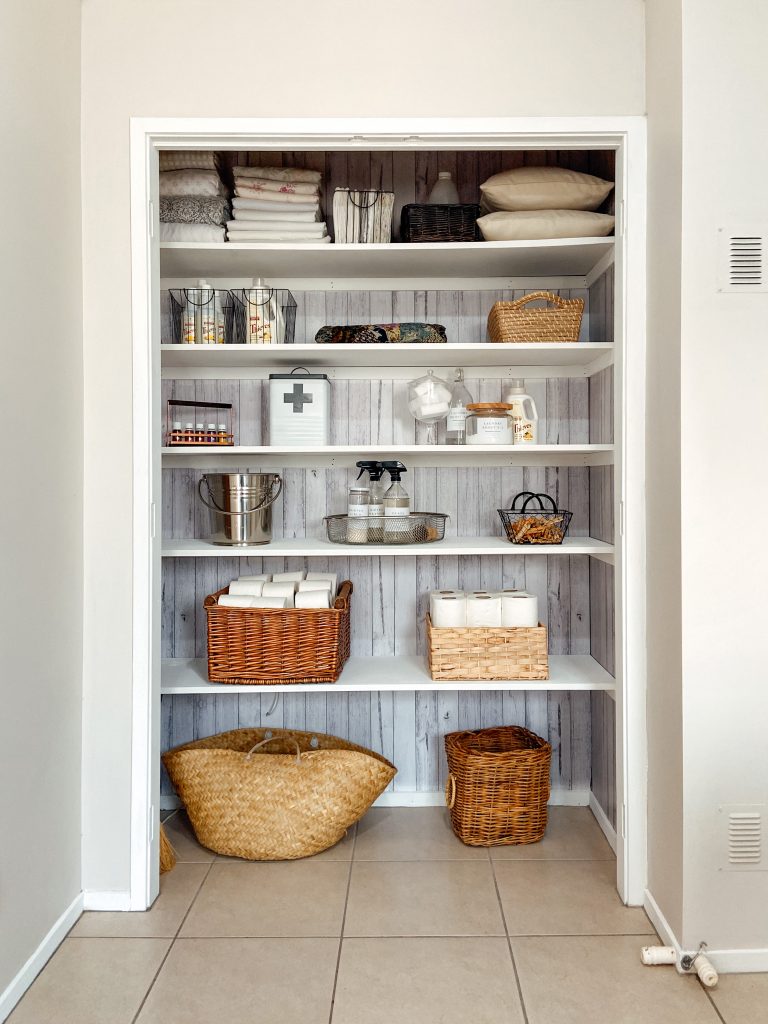
I had recently join this group called Kmart & The Warehouse Hacks & Decor NZ and there were several people in there who had all used this vinyl for different projects. So I thought I would give it a try and use it for the walls.
The vinyl was surprisingly forgiving and quite easy to work with. I was afraid that it would look super cheap (some of the projects I have seen with vinyl weren’t exactly and improvement) but overall it ended up turning out REALLY great for the space!
The shelves got painted white (I had a little help from a very sweet 5 yr old). There might or might not be several painted over unicorns on those shelves, haha.
Then it was onto the decorating! This one actually took me a little while. Partly because of how much stuff we had been putting in that cabinet, purely out of a “we want to be done moving in, so let’s just use this cabinet and be done with it” kind of way. I decided to only put back actual laundry/linen stuff. (So the rest is currently sitting on my garage floor until I decide what it’s fate will be).

As time consuming as the above was, the REAL challenge came next, with the other walls. Again… I didn’t want to reno, but we have a mismatched washer/dryer combo, a wash sink and a small space in front of the window.
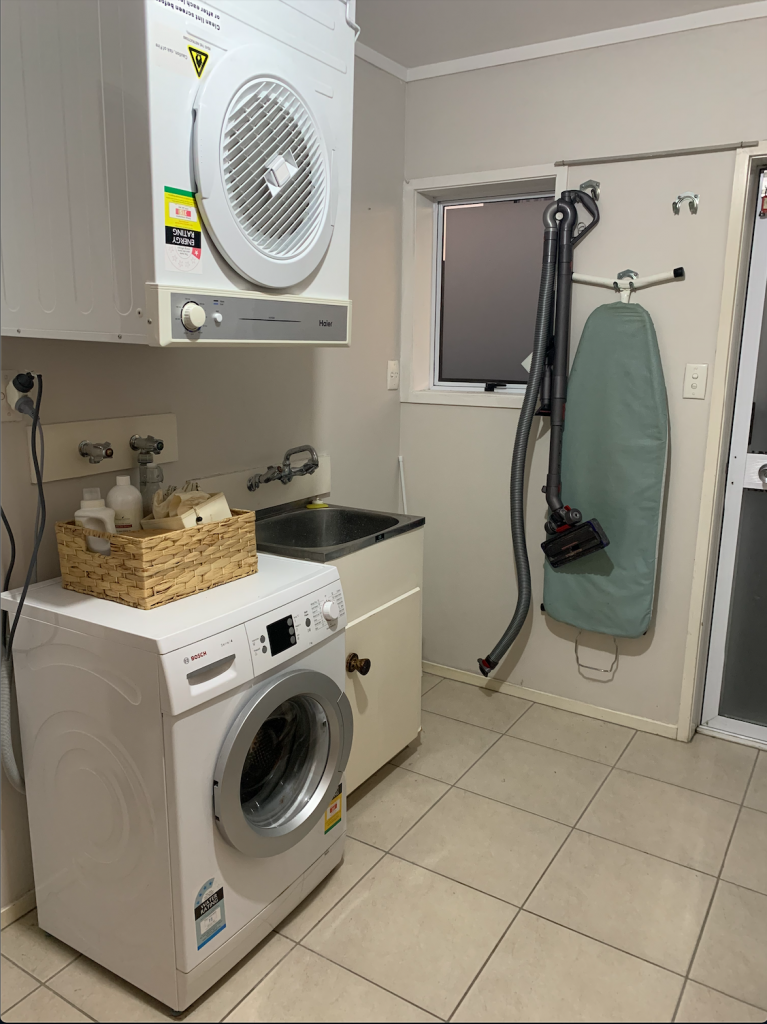
I decided that the biggest improvement would be to finish up the trim that hadn’t ever been done. Our landlords left the paint they had done the ceiling with, so I got to work. This is where my Netflix binging took over and Star Trek Discovery was back on while I painted away. It was actually quite relaxing… other than my feet didn’t like being on the hard floor for a long time.
Next was to add some kind of character to the space. I found this table on TradeMe and thought I could take a risk.
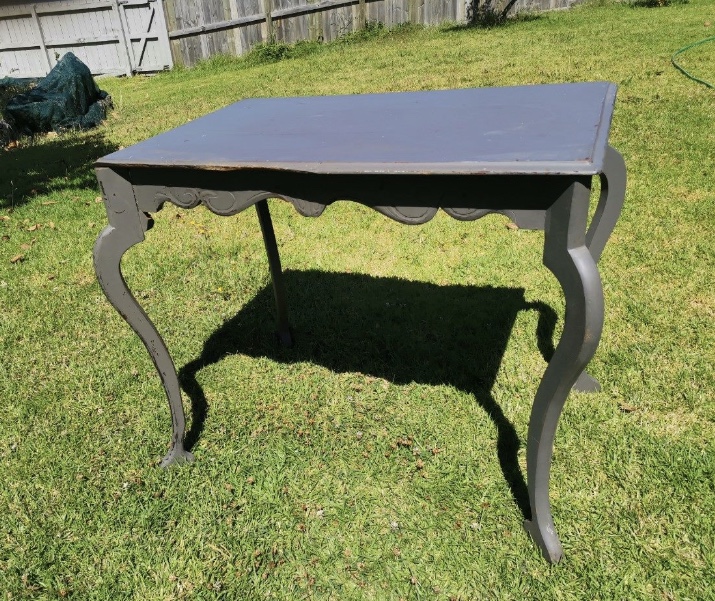
One of the legs was already needing a repair, and there was a chunk missing from part of the table top. This guy was JUST too big for the space, so the Hubs helped me out with the hand saw to trim it down.
I also took the legs off and liquid nailed those guys to where they were oriented straight (if you look back at the picture of the table, you will notice the legs are on a 45 degree angle).
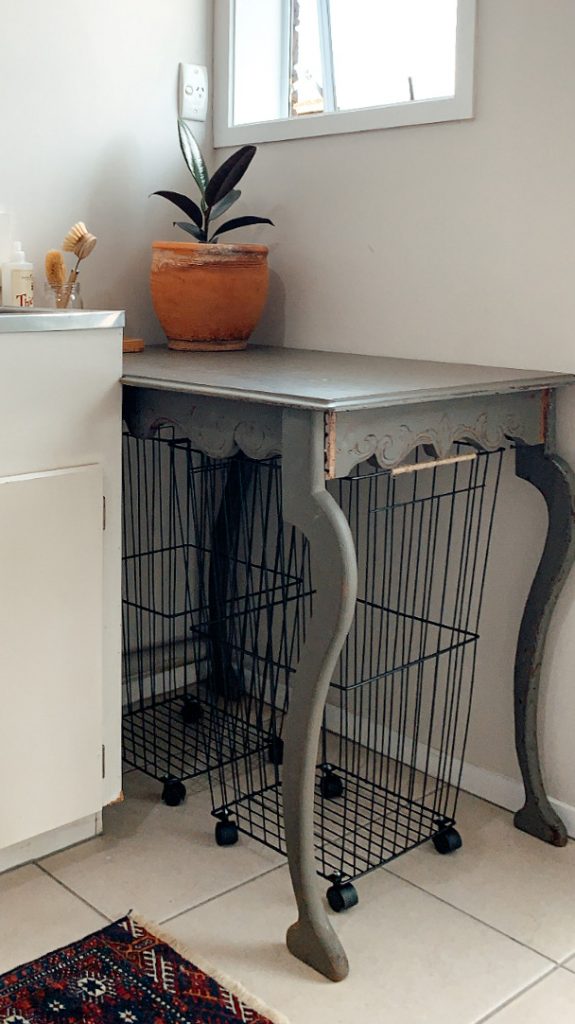
He fit PERFECTLY and added that little bit of character to that bland corner!
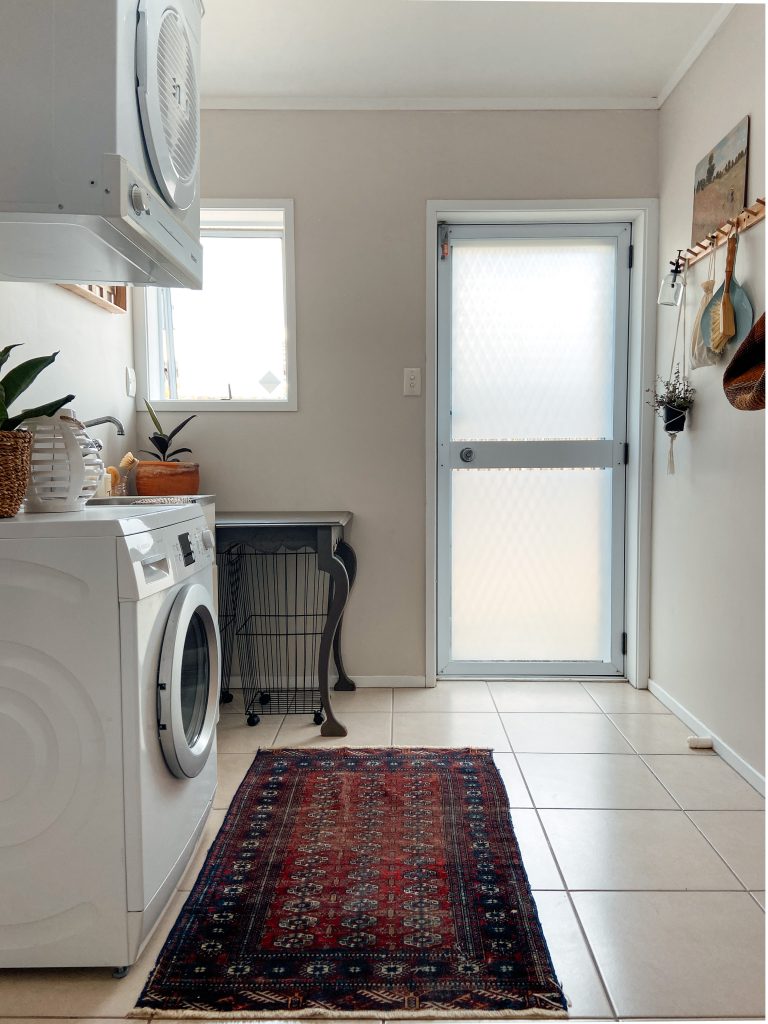
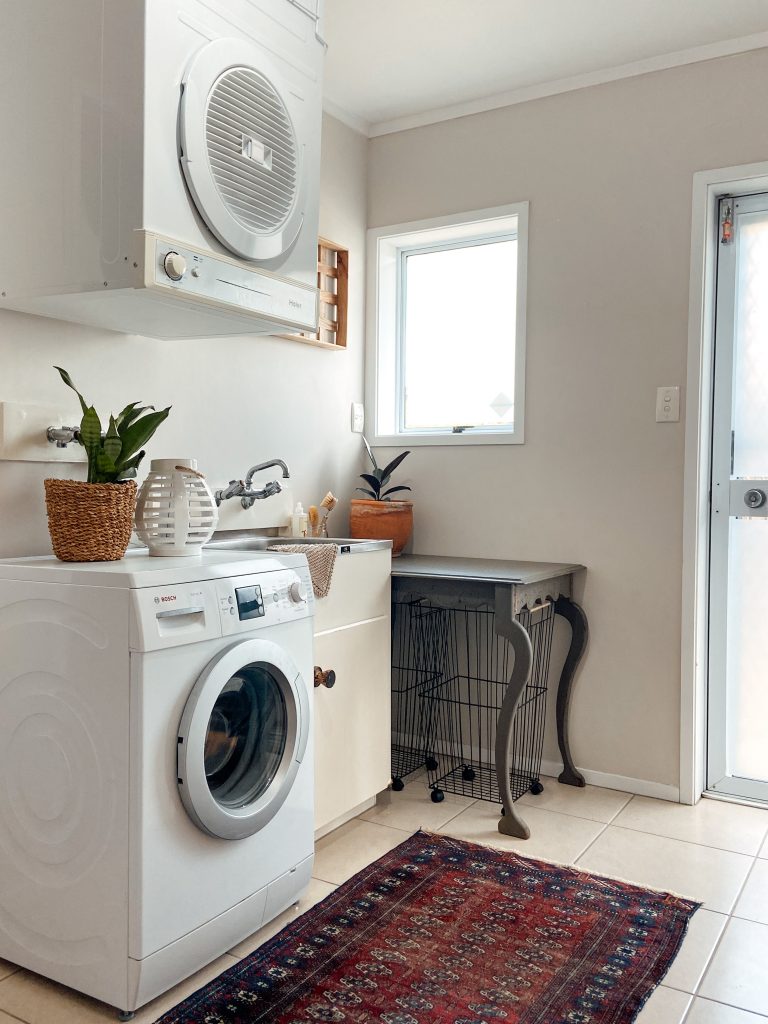
I also needed the practical things, like laundry sorting. So these baskets from Kmart were just the trick! I did add a little jute to the handles to give them a farmhouse feel!
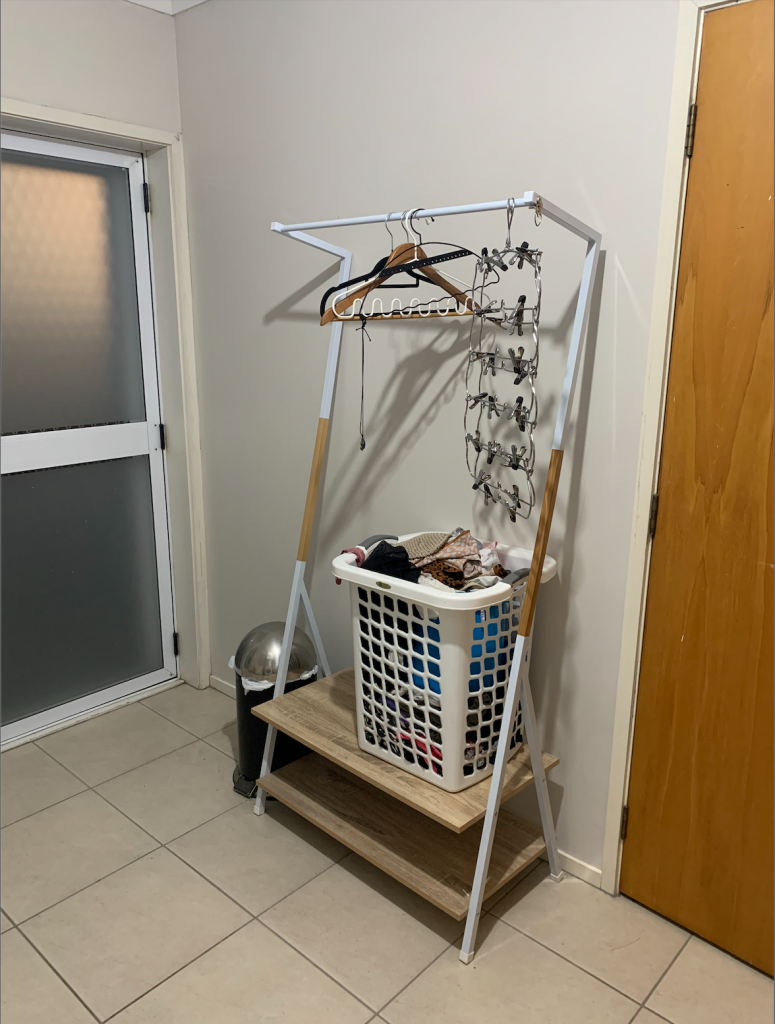
Last but not least was the wall between the doors. Both doors open to basically take up all the space. Previously I had the open wardrobe shelf. As good intentioned as I was, this just ended up being a dumping ground for ALL THE THINGS! SO I knew it had to go.
I had really been wanting a Peg Rail, but most were too expensive, or you had to make them yourself. I do know that ONE DAY I will have all the tools needed to make it myself, but that day was not here yet. I searched around the whole of New Zealands decently priced stores (which is basically Kmart and Bunnings) and didn’t find what I was after. I took the risk of going to the (dun, dun dunnnnn) MALL (insert all kinds of gasps here, because I get so much anxiety at the mall, lol). Anyway, enough with the dramatics… I checked out H&M Home and what do you know, THEY HAD A PEG RAIL!! And it was only $15!! SO I bought 2 of those guys!
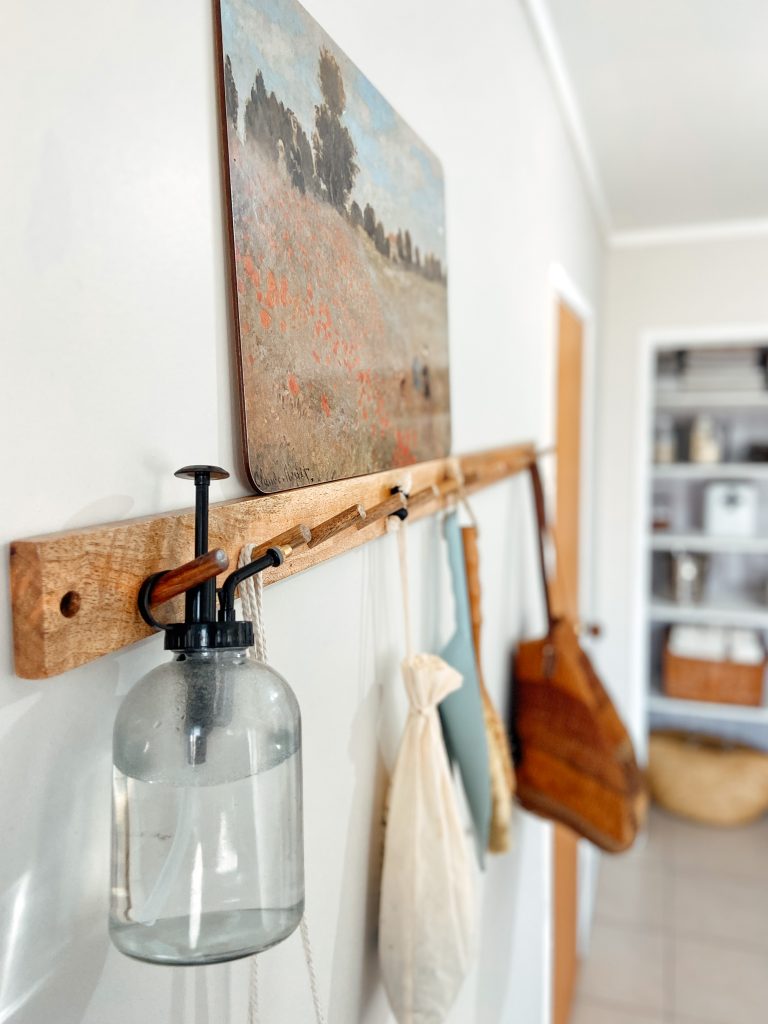
I am SO pumped about this thing because of how easy it will be to re-style it!! But for now, it has a few practical things and one of the wooden placemats I found at a thrift shop!
Overall, I am SO thrilled with how this room turned out!