Starting this new journey of blogging + Pinterest + Instagram is not for the faint of heart!
I have already had to overcome so much within myself to get this done. I have committed to 100 Instagram posts in 100 days, with 50 of those being Reels. Breaking that down a bit farther, I have given myself “mini” goals. 100 seemed a bit daunting, especially because I am spending time creating this content to not have a lot of return yet… SOO, in lies my “mini” goals… For every 10 Instagram posts (5 Reels) I am doing 2 blog posts! And when I get all that done, I get a plant! haha. I need these kinds of mini rewards to help push me into the last little bit… I don’t know that I have fully found my “vibe” yet when it comes to blogging, but how will I find my vibe if I don’t actually do it!
I literally have butterflies in my tummy as I write this… These are the kinds of things I am trying to push myself past… so… enough of my musings… onto the Macrame Plant Hanger!
+++
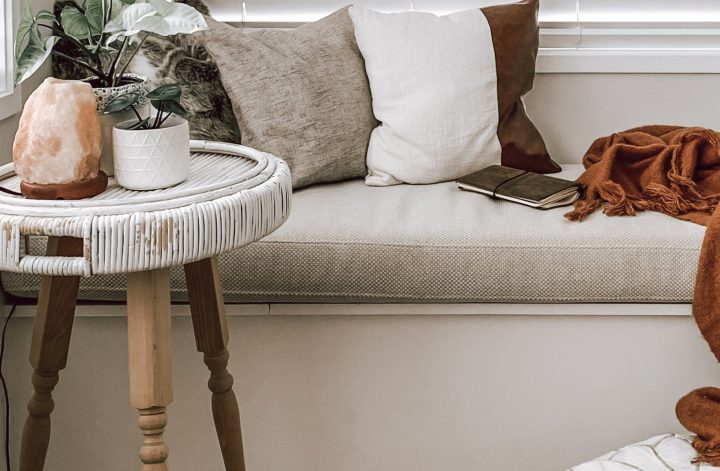
One of the first things I polled on Kaylor Abode Instagram was if I should decorate my window seat or my bathroom. It was a landslide for the window seat (even though I desperately wanted to do my bathroom, I will give the people what they want, haha)!
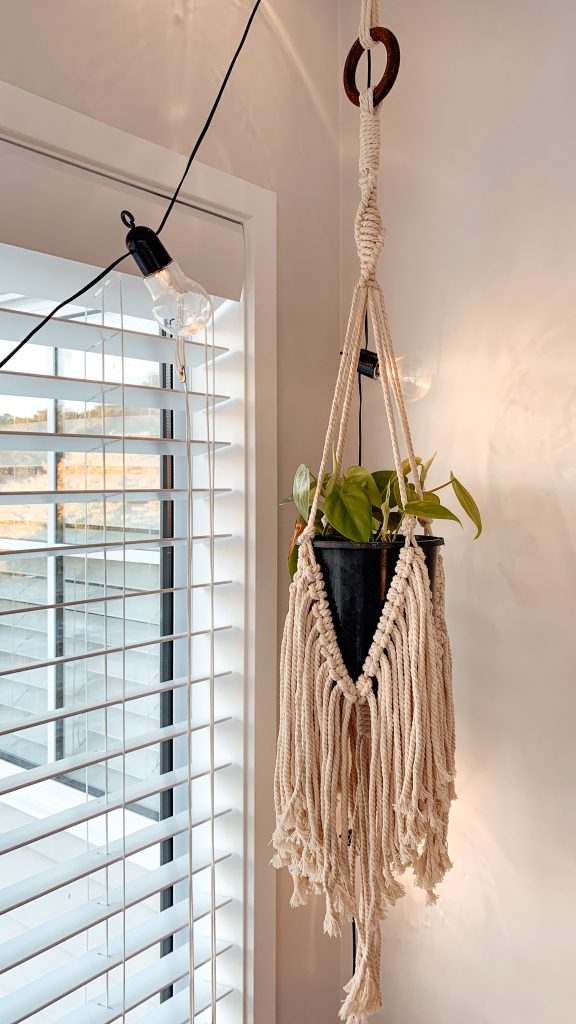
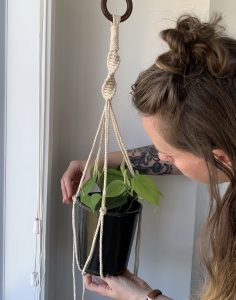
I knew I wanted to add some greenery and I had the PERFECT plant that was a housewarming gift from a friend from her cuttings of a Pathos! This guy has already grown SO much and I know he will grow into all his beauty!
I have had a few simple plant holders, but I knew I wanted something a bit more dramatic for this window… So here is what I came up with.
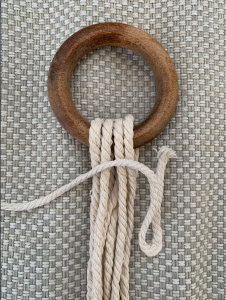
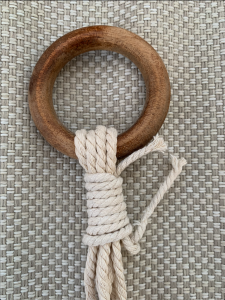
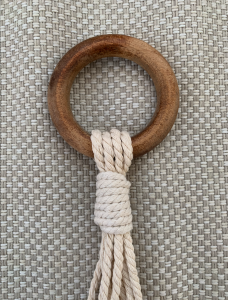
Next was adding the macrame yarn. I cut four 6 ft pieces and looped them through the ring. There is a little trick to tying off the string so you don’t see any ends.
Now I was onto the actual macrame bit. So that you can see what the knot I am going to be doing looks like in its true form, these next photos are purely to show how I tie it.
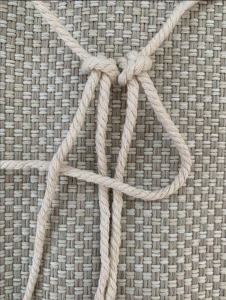
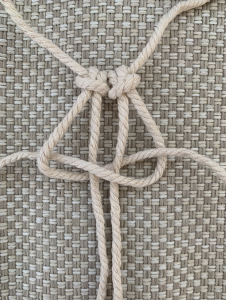
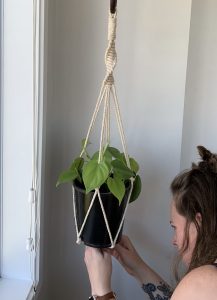
I literally say the above in my head EVERY time I am macrameing, lol. If you were going to make a flat look, you would do the opposite of the above to even out the knot, but I wanted mine to twist, so I repeated that knot over and over until I got enough twist.
Since I knew I wanted to add fringe to the bottom, the next part was pretty simple, I measured out where I wanted my knots for this plant and tied loop knots for the knots to align with the top and the bottom.
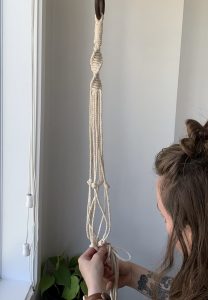
Next comes the easy, but time consuming part. I cut 10 strings about 16 inches each per straight string and tied a simple loop knot for each of them to create the fringe. During this part, I chucked on a tv show on my computer (Star Trek Discovery… yes, yes, I know I am a nerd). Gotta pass the time when I do tedious things.
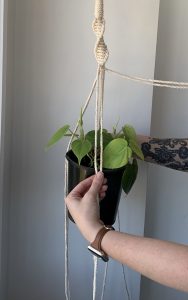
And there you have it! a gorgeous plant hanger that is handmade!